
If you’ve ever had an appliance overheat, a faulty temperature control was almost certainly to blame. As a supplier of bimetal temperature switches, I’ve seen firsthand how even a well-manufactured part can fail prematurely—simply because it was installed incorrectly. This isn’t a matter of the part being bad; it’s a matter of not following the precise steps that ensure a bimetal switch works as intended, whether you’re working on a kitchen oven, an HVAC system, a water heater, or industrial machinery. Over my years in this field, I’ve learned that the difference between a switch that lasts 6 months and one that lasts 5 years often comes down to how careful you are during installation. Let’s break down exactly how to install a bimetal temperature switch correctly, step by step, with all the practical insights I’ve picked up over hundreds of service and supply projects.
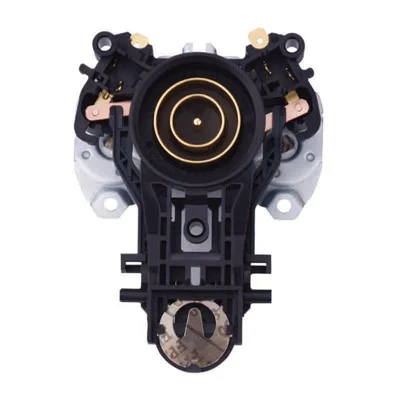
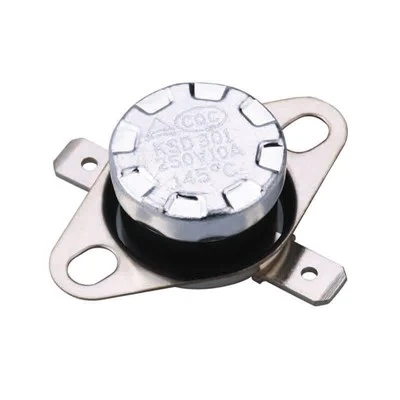
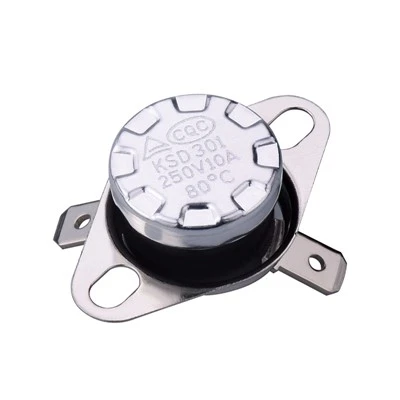
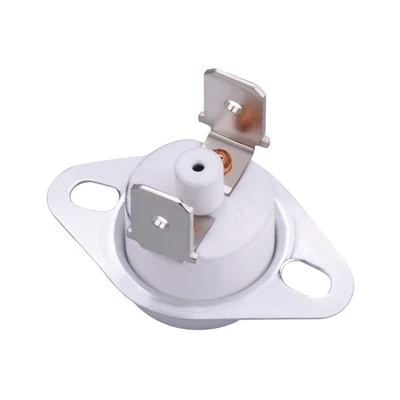
First, before you even touch a screwdriver, you need to get the right part for your application. Not all bimetal switches are created equal, and using the wrong one will derail even the best installation. For example, if you need a switch for high-temperature environments like industrial furnaces or commercial stoves, you’ll want a high-temperature ceramic thermostat, designed to withstand sustained heat up to 500°F and resist corrosion from common industrial fumes. If you’re working on a household water heater or baseboard heater, a standard bimetal temperature control switch will likely be sufficient, as it balances temperature range and cost for most residential applications. For high-demand systems that need to handle large electrical loads, like heavy-duty commercial compressors or water heater elements, a high-current thermostat is non-negotiable—using a low-current switch here will cause arcing and failure within weeks. I often recommend the KDS301 thermostat for small to mid-range appliances; its compact size and precise temperature calibration make it perfect for space-constrained designs like coffee makers or small HVAC units. No matter which part you choose, double-check that its temperature set point matches your system’s requirements, and confirm its voltage and current ratings align with the circuit it will be protecting. Cutting corners here will only lead to repeat calls, so take the time to verify specs before you start.
Once you have the right part, the next step is to safely prepare the work area. Bimetal switches are mechanical parts, not electronic, but they still interact with live circuits and hot components. Always disconnect the power to the system you’re working on—for hardwired units, turn off the circuit breaker, and for plug-in appliances, unplug them from the wall. If you’re working on a system that holds water or refrigerant, relieve the pressure first; a sudden release can spray hot water or refrigerant, leading to burns or damage. Next, locate the current switch by tracing the temperature sensor’s wire from the control panel to its mounting point. Common mounting locations include inside water heater tanks, attached to HVAC ductwork, or mounted to the exterior of appliance heating elements. Before removing the old switch, take photos or notes of how the wires are connected—cross-wiring is one of the most common installation mistakes, and it can cause the system to overheat or shut off entirely. For switches mounted in tight spaces, use a small magnetic screwdriver to avoid dropping screws, and keep a container handy to hold small parts like terminal nuts.
With the old switch removed, it’s time to prepare the mounting surface for the new bimetal temperature control switch. This step is critical because the bimetal disc inside the switch relies on consistent thermal contact with the component it’s monitoring. If the surface is dirty, corroded, or uneven, heat transfer will be inconsistent, leading to inaccurate temperature readings and erratic switch operation. Start by cleaning the mounting area with a wire brush or sandpaper to remove rust, paint, or scale, then wipe it down with isopropyl alcohol to eliminate grease or debris. For switches mounted on flat surfaces (like the side of a water heater), apply a thin layer of thermal compound to the back of the switch. This compound fills in microscopic gaps between the switch and the surface, improving heat transfer by up to 30% and ensuring the switch responds accurately to temperature changes. Avoid using too much compound, though—excess can seep into the switch’s internal components and cause malfunction. If you’re working on a new installation, not a replacement, make sure you choose a mounting location that’s exposed to the actual process flow, not a dead air pocket. For example, mounting a duct thermostat in a return air vent will give a false low-temperature reading, so instead, mount it in the supply duct where the hot air flows through.
Next comes securing the switch and connecting the wires. When mounting the switch, use the fasteners that came with it—never substitute screws that are too long or too short. A screw that’s too long can poke through the switch and damage the bimetal disc, while a screw that’s too short won’t hold the switch tight enough, leading to poor thermal contact. Tighten the fasteners in a crisscross pattern, like you would when tightening lug nuts on a car wheel, to ensure even pressure across the switch’s back. Most bimetal switches use quick-connect terminals or screw terminals for wire connections. If your switch has quick connects, push them firmly onto the switch’s terminals until you hear a click—loose connections are a leading cause of overheating at the wire terminal, which can melt the insulation or start a fire. If you’re using screw terminals, wrap each wire clockwise around the terminal to ensure a tight connection, then tighten the screw until the wire doesn’t move. Always double-check the wire connections against your earlier notes or photos—misplacing the hot and neutral wires is a common mistake that can render the switch useless. For switches that require ground connections, make sure you attach the ground wire to the designated terminal, as required by electrical code.
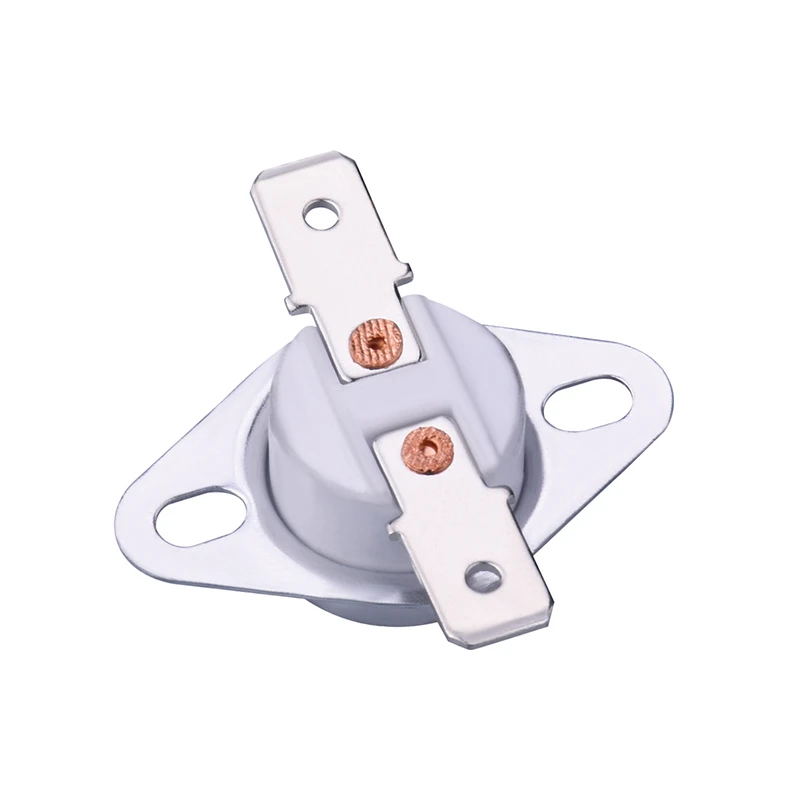

Once the switch is securely mounted and wired, it’s time to test it before putting the system back together. This step is something many installers skip, but it’s how you catch mistakes before the system is back in use. Start by double-checking that all tools and extra parts are removed from the work area, then restore power to the system. For a water heater or oven, set the temperature to a point above the switch’s set point (for example, if your switch is set to cut off at 120°F, set the system to heat to 140°F). As the system heats up, monitor the switch—you should hear it click when it reaches the set temperature, indicating it has opened or closed as designed. Wait for the system to cool down, and check that the switch clicks back to its original position. If it doesn’t, turn off the power immediately and double-check your wiring and mounting. Another common test is to use a multimeter to confirm continuity: when the system is below the set temperature, the switch should show continuity (closed), and when it reaches the set temperature, continuity should break (open) or vice versa, depending on whether you have a normally open or normally closed switch. For specialized applications like high-temperature ceramic thermostats, test the switch’s performance at the upper end of its rated temperature range to ensure it doesn’t fail at peak heat. I always recommend testing the system for at least 30 minutes after installation to catch any intermittent issues that might not show up in a 5-minute test.
After testing, the final step is to reassemble the system and clean up your work area. Replace any panels, covers, or insulation that you removed during the installation, making sure not to pinch or kink the wires. If you insulated around the switch’s mounting area, use heat-resistant insulation to maintain accurate temperature readings. Once everything is back together, label the system with the switch’s set point and installation date—this will make future maintenance easier, and it will help you track performance over time.
Now, a word from my experience as a bimetal temperature switch supplier: even the best installation won’t make a low-quality switch work. If you’re still using an old ceramic thermostat that’s prone to cracking at high temperatures, or a generic bimetal switch that drifts 10°F from its rated set point, you’ll end up with system failures no matter how careful you are during installation. That’s why I always advise customers to source parts from reputable suppliers, and to confirm that every switch meets industry standards for temperature accuracy and durability. For example, the KDS301 thermostat I mentioned earlier has a temperature tolerance of just ±2°F, making it ideal for applications where precise temperature control matters. High-current thermostats are built with thicker contacts that can handle repeated high-load switching without arcing, which is critical for commercial systems that run 24/7.
I’ve seen too many installers cut corners on parts to save a few dollars, only to have to come back and fix the same problem a month later. The cost of a single service call is often more than the difference between a high-quality bimetal temperature control switch and a cheap knockoff. So when you’re planning your next installation, take the time to get the right part, follow the steps we’ve outlined, and test thoroughly.
If you’re not sure which switch is right for your application—whether you need a standard bimetal temperature control switch, a high-temperature ceramic thermostat, a KDS301 thermostat, or a high-current thermostat—our team can help. We work with technicians, appliance manufacturers, and industrial operators to source the right parts for every job, and we’re happy to answer any questions about installation, specs, or compatibility.
For further reading on bimetal switch design and application standards, refer to industry guidelines from the International Electrotechnical Commission (IEC) and Underwriters Laboratories (UL). Additionally, material science resources from the American Society of Mechanical Engineers (ASME) provide detailed insights into how bimetal discs perform under different temperature and load conditions.